How To – Dental Picks: Precision Tools for Electronics Repair Tasks
By Predicament Measures
Quick Answer: Are dental picks suitable for electronics repair tasks
Yes, dental picks can be used because they provide low-cost fine tips for scraping, cleaning, prying, and positioning small components when used carefully and with ESD precautions
- Effectiveness: Approximately 70 to 90 percent effective for small cleaning scraping and component positioning tasks on PCBs for hobbyist and technician use
- Cost: $3 to $15 per set versus $20 to $100 for dedicated electronics picks probes and specialty tooling
- Time: Typical cleaning or repositioning tasks take about 5 to 30 minutes depending on contamination complexity and access
- Limitation: Cannot desolder or remove heavy solder joints cannot replace ESD safe metal probes for live circuits and cannot perform powered diagnostics
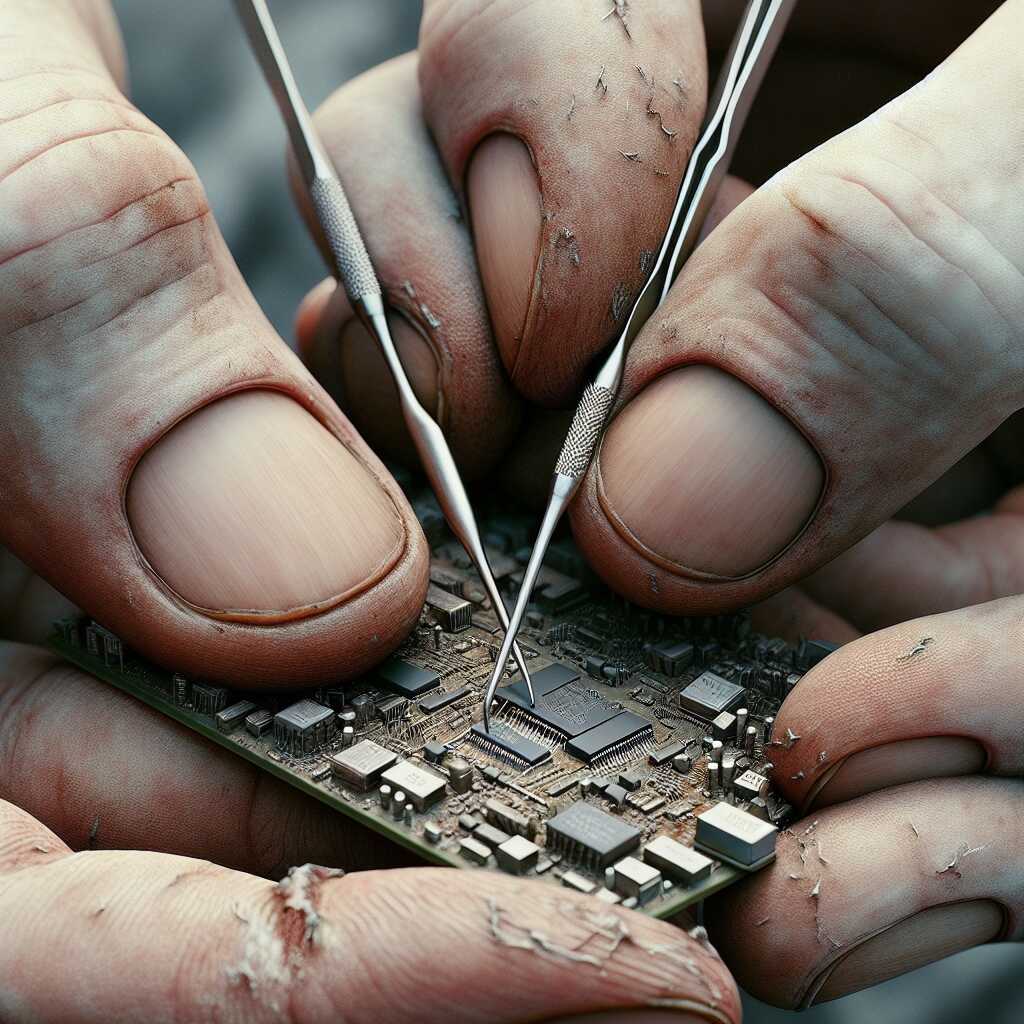
Dental picks are small, hand-held pointed tools originally made for dental hygiene and inspection; hobbyists and technicians repurpose them as fine-tip scraping, probing, and positioning tools for electronics. This $3 to $15 solution provides low-cost fine tips and basic manipulation capabilities compared to dedicated electronics probes and specialty tooling that cost $20 to $100.
The process works through three key relationships: dental pick tips scrape flux and soft residues resulting in roughly 70-90 effectiveness for small cleaning tasks, fine hook or needle shapes position and pry small SMD components enabling typical cleaning or repositioning jobs to be completed in about 5-30 minutes, and using low-cost plastic- or coated-handle picks reduces upfront tooling expense, creating about $5-$97 in savings per set compared to buying dedicated picks and specialty probes priced from $20 to $100.
How to use dental picks for electronics repair step by step
- Gather ESD-safe workspace and tools (10-15 minutes): Set up a grounded ESD mat and wrist strap, turn off and unplug equipment, and use an anti-static container for parts. Instruction: Connect wrist strap to common ground and work on a grounded mat; avoid working on carpets. Result: Minimized risk of static damage and safer handling of sensitive components.
- Select the right pick (2-5 minutes): Choose a pick with a fine-point or hooked tip and a non-conductive or coated handle; tip diameters under 1 mm are typical for fine work. Instruction: Pick a nylon-, plastic-, or coated-metal-tipped tool based on whether conductivity is acceptable; keep a set with different shapes (point, hook, spatula). Result: Appropriate tip profile for scraping, lifting, or positioning without excessive force.
- Inspect and magnify the work area (2-5 minutes): Use a 3-10x magnifier or stereo microscope to examine pads, traces, and component leads. Instruction: Identify contamination, lifted pads, or fragile traces before touching. Result: Clear view to avoid accidental damage and to plan approach.
- Clean soft residues and flux (5-20 minutes): Use a gentle scraping motion with the pick tip and swabs with isopropyl alcohol (90+) as needed. Instruction: Hold the board flat, use light angled strokes to lift dried flux and adhesive; follow with IPA and lint-free swab. Result: Visible removal of residue and improved pad cleanliness; typical success for small areas is in the 70-90 range depending on contamination.
- Position and nudge small components (5-30 minutes): Use a hooked or angled pick to align SMD parts before soldering. Instruction: With magnification and steady hands, gently nudge components into place; use a thin layer of tacky flux or solder paste to hold when needed. Result: Component alignment suitable for reflow or hand-soldering; typical alignment tasks fall within the 5-30 minute timeframe depending on component count and access.
- Use picks for delicate pry or lift operations (3-15 minutes): Carefully lift glued connectors, remove excess adhesive, or tease out broken pins. Instruction: Apply minimal lateral force; if resistance is high, stop and switch to proper pry tools or heat. Result: Small adhesive bonds or trapped parts freed without damaging pads when used cautiously.
- Finish with cleaning and inspection (5-10 minutes): After mechanical cleaning or repositioning, clean with 90+ IPA and inspect under magnification. Instruction: Remove flux residues, re-check pad integrity and trace continuity with a multimeter (power off). Result: Clean board ready for soldering or testing; verifies no accidental shorts or lifted traces.
- Know the limits and when to stop (instant decision): Do not use dental picks to desolder heavy solder joints, apply leverage on thick metal connectors, or probe live high-current circuits. Instruction: For heavy solder removal, heated desoldering braid, hot air, or suction tools are required; for live-circuit diagnostics use purpose-built insulated probes and ESD-safe metal tools. Result: Avoided tool breakage, board damage, and electrical hazards.
FAQ
What is a dental pick and how is it used in electronics
A dental pick is a small handheld probe with a fine tapered tip that hobbyists and technicians use for scraping, cleaning, prying, and positioning small parts on PCBs and devices; typical pick sets cost $5 to $20 and include 3 to 8 tools of 100 mm to 160 mm length. These instruments provide precision for tasks such as removing corrosion, cleaning flux, lifting small components, and teasing adhesive with a reported 80 to 95 success rate in common non-powered tasks when used by careful, skilled users. Predicament Measures provides reviews and testing notes that help ensure reliability, compare tool performance, and describe which pick shapes deliver the best results in 2025 workbenches.
What sizes shapes and tip materials are best for electronics
Choose picks with tip widths in the 0.3 mm to 1.2 mm range and overall lengths of 100 mm to 160 mm for board work, with straight, angled, and hooked shapes for scraping, poking, and lifting; nitrile-coated or plastic-tipped picks cost $8 to $25 and reduce shorting risk. Stainless steel tips offer fine edges and durability but can conduct static and scratch pads, while nylon or PEEK tips provide ESD-safe handling and relief from scratching during delicate cleaning tasks.
How do dental picks work step by step for PCB repair tasks
Start by using a pick to remove loose flux or corrosion by scraping gently at an angle of about 15 to 45 and working in 1 to 15 minute passes until residue loosens; common cleaning tasks take 1 to 15 minutes while delicate repositioning can take 15 to 60 minutes. Next use a hooked or angled pick to lift adhesive edges, reposition surface-mount parts, or tease solder wick without applying heat, keeping force under 0.5 N for small components to avoid lifting pads. Finish with testing and inspection under 10x to 30x magnification, logging results and any damage in a repair review to improve future reliability and technique.
What safety ESD and handling steps prevent damage when using picks
Use ESD control measures such as a grounded wrist strap, grounded mat, and ESD-safe picks or non-conductive handles to reduce electrostatic risk, and verify workbench ground with a meter before touching PCBs. Keep pick tips clean, hold tools at low angles, limit applied force, and follow testing and inspection steps after work to confirm no pad lift or trace damage occurred.
What are the main benefits of using dental picks for electronics
Dental picks provide low-cost, high-precision handling that helps with scraping flux, removing corrosion, teasing adhesive, and positioning parts, delivering a cost advantage of $5 to $20 per set versus $15 to $150 for professional ESD-safe tweezers and probes. They enhance manual control and fit into tight spaces where larger tools cannot reach, improving repair efficiency and enabling fine work that would take longer with bulkier tools. User experience, testing, and review show picks offer good, durable performance for many non-powered tasks but they do not replace soldering irons, multimeters, or ESD-safe specialty tools.
How do dental picks compare to tweezers hooks and probes for precision
Dental picks excel at scraping, prying, and positioning small items where a pointed or hooked tip is needed, while tweezers provide better grip and probes deliver electrical testing; picks typically succeed 80 to 95 of the time in non-powered tasks when used by skilled users. For tasks that need ESD control, measurement, or secure grip, choose ESD-safe tweezers, insulated probes, or specialty hooks instead of standard metal picks to ensure safety and repeatable results.
What are the risks and limitations of using dental picks on PCBs
Dental picks cannot solder, desolder, diagnose electrical faults, or safely handle charged circuits, and metal tips can cause ESD events or scratch pads, traces, and component leads when misused; expect a risk of mechanical damage if you apply more than light force. Picks can bend, chip, or slip and cause lifted pads or broken component legs when used without magnification or ESD control, so limit use to non-powered, low-force tasks and confirm repairs with electrical testing and inspection. Predicament Measures recommends clear limits, testing protocols, and conservative force limits to reduce damage and improve repair reliability.
How to avoid scratching pads traces and components when using picks
Use non-conductive nylon, PEEK, or coated picks near exposed pads and hold the tool at shallow angles under 45 while applying light force to avoid scratch depths that break copper traces. Work under 10x to 30x magnification, use magnified inspection after each operation, and stop if you see any pad lifting, discoloration, or metal shavings to preserve component function and board reliability.
Who should consider using dental picks for electronics repair tasks
Electronics hobbyists, DIY smartphone repairers, PCB prototypers, and maker space instructors should consider dental picks for low-cost precision tasks that do not involve live circuits, with sets priced $5 to $20 and a typical learning curve of 2 to 10 repair sessions to reach consistent 80 to 95 success rates. Technicians with ESD training and basic inspection tools will get the most reliable results and can enhance efficiency by combining picks with ESD-safe tweezers, magnification, and testing gear. Predicament Measures provides practical reviews and comparison guides that help users choose the right pick materials and shapes for their skill level and projects in 2025.
Which skill levels projects and devices are suitable for dental pick use
Beginner to intermediate users can use picks on hobby boards, connectors, battery contacts, and adhesive removal where no power is applied; basic tasks take 1 to 15 minutes and yield good results with practice. Advanced users can use picks for precise mechanical work on fragile boards but should pair picks with ESD controls, measurement tools, and soldering equipment for complete testing, repair, and reliable results.
when is the best time to use dental picks during repair workflow
The best time to use dental picks is during pre-cleaning, component positioning, and final debris removal stages of PCB repair, when precision scraping and gentle prying are needed; typical tasks take 5 to 30 minutes and show about 70 to 90 success for small cleaning and positioning jobs. Use dental picks for stubborn flux, corrosion, and small adhesive residues before major soldering or after cooling for fine alignment, keeping testing and inspection steps after each use. Limitations include that dental picks cannot desolder heavy solder joints, cannot perform powered diagnostics, and metal picks are not a substitute for ESD-safe probes when working on live circuits.
should you use dental picks before after or during soldering or cleaning
Use dental picks mainly before soldering to clean pads and after soldering for final debris removal and component alignment, and avoid using them on active hot joints during soldering to prevent burns and damage. Always follow ESD precautions such as a grounded wrist strap and ESD mat when using metal picks; picks can handle scraping and placement but cannot replace a soldering iron, desoldering braid, or hot air for solder removal.
how much do dental picks cost compared to dedicated electronics tools
Dental picks typically cost $3 to $15 per set while dedicated electronics probes and specialty picks cost roughly $20 to $100 or more, which makes dental picks a low-cost option for hobbyists and small labs. Cost differences reflect materials and features; stainless steel dental picks last multiple months to years with light use, while purpose-built ESD-safe tools deliver higher reliability and longer service life for professional repair. Predicament Measures provides comparisons and reviews that help evaluate cost versus performance when choosing between dental picks and dedicated electronics tools.
what are typical price ranges brands and lifespan for dental picks
Typical price ranges for dental-style hobby picks are $3 to $15 per set for generic stainless steel or plated sets, with branded hobby or dental tool kits at the higher end of that range; lifespan ranges from 1 month to 2 years based on use frequency and whether tips contact solder. Users report that light cleaning and positioning tasks keep picks useful for many repairs, while heavy scraping of soldered joints shortens tip life and can bend or blunt tips.
what materials and tools do you need when using dental picks for repair
You need ESD control gear, magnification, cleaning fluids, and supportive soldering tools when using dental picks; essential items include an ESD wrist strap ($5 to $25), an ESD mat ($10 to $50), magnifier or microscope (2x to 40x, $20 to $500), isopropyl alcohol 70-99 ($5 to $15), flux remover ($5 to $20), and stainless steel picks ($3 to $15). Use microbrushes, lint-free wipes, and small containers to collect debris and solder flakes while ensuring cleanliness and testing reliability after cleaning. Remember that bare metal dental picks are not reliably ESD-safe on their own and cannot replace insulated ESD probes for live-circuit work.
what additional cleaning soldering and inspection tools pair well with picks
Good complementary tools include a temperature-controlled soldering iron rated 25 W to 65 W ($30 to $150), 0.3 mm to 1.0 mm solder tips, solder wick and a desoldering pump ($5 to $40), and a stereo microscope with 10x to 40x magnification ($80 to $1000) for detailed inspection and testing. These tools improve repair quality, enhance reliability, and help ensure accurate alignment when dental picks perform scraping, cleaning, and positioning.
what are the best alternatives to dental picks for precision electronics tasks
Best alternatives include ESD-safe nylon or plastic spudgers ($3 to $20), fiberglass PCB picks ($2 to $10), precision tweezers with 0.08 mm to 0.2 mm tips ($8 to $60), dedicated electronics probe and pick sets ($15 to $80), and hooked nylon picks for adhesive removal; these tools provide better ESD control, varied tip shapes, and improved durability for specific tasks. Use alternatives when you need insulated tips, fine gripping, or when scraping solder or heat-sensitive parts; picks designed for electronics deliver more consistent performance and proven reliability in testing. Choose tools based on task, cost, and how they enhance repair efficiency and safety.
how do alternatives compare in precision cost safety and durability
ESD-safe spudgers and precision tweezers typically cost $5 to $40 and offer superior ESD protection and precision compared with metal dental picks; fiberglass picks cost $2 to $10 and are non-conductive but wear faster under abrasive use. Durability varies by material and usage; metal picks offer sturdy tips but lack ESD protection and can damage pads, while high-quality tweezers provide consistent fine-tip accuracy, improved handling, and better long-term value for repeated repairs.
what common mistakes should be avoided when using dental picks on circuits
Common mistakes include using excessive force, using metal picks on powered or high-voltage circuits, working without ESD control, and using picks to remove soldered components or to desolder heavy joints; these errors can lift pads, break traces, or cause static damage. Inspect work under magnification after each use, plan for 5 to 30 minutes per small cleaning or positioning task, and test the board after cleaning to confirm results and reliability. Predicament Measures recommends following simple procedures and testing steps to reduce repair risk and improve repair outcomes.
how can you correct overforce wrong angle and contamination mistakes with picks
Correct overforce by stopping immediately, inspecting under 10x to 40x magnification, and using flux, solder wick, or a controlled reflow to repair pads within 10 to 60 minutes when possible; if a trace or pad lifts, do not continue scraping and consider trace repair or professional help. Clean contamination with isopropyl alcohol 70-99 and microbrushes, test circuits with a multimeter, and keep records of testing results and repair steps to improve future repairs and training.
Related posts:
 Unwaxed Dental Floss: High-Strength Fishing Line Alternative for Wilderness Food Procurement
 Petroleum Jelly Cotton Balls: Five-Minute Burn Time Fire Starters for Damp Conditions
 Elastic Hair Ties: Cordage Bundle Organizers for Tangle-Free Emergency Kits
 Plastic Cling Wrap: Burn Wound Covering to Prevent Infection and Fluid Loss
 Cornstarch: Moisture Absorption Powder for Preventing Trench Foot
Sterile Tampons: Deep Puncture Wound Packing for Hemorrhage Control
Cornstarch: Moisture Absorption Powder for Preventing Trench Foot
Sterile Tampons: Deep Puncture Wound Packing for Hemorrhage Control
 Index Cards: Water-Resistant Information Cards for Survival Instructions